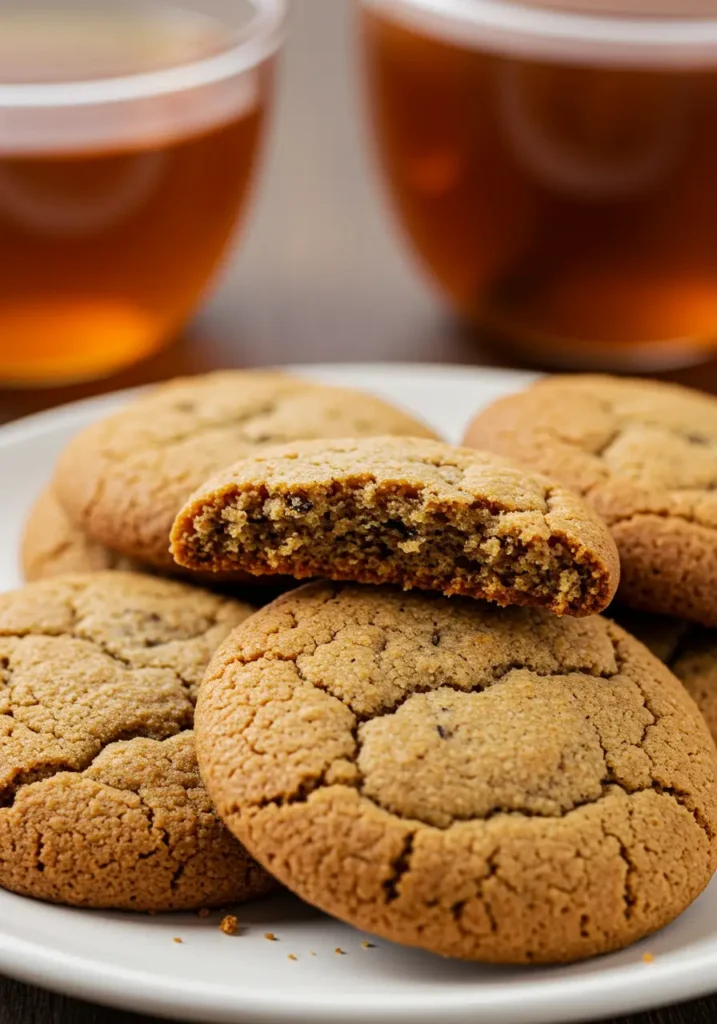
Okay, so here’s the deal. I’ve been obsessed with Earl Grey tea for years there’s just something about that bold, citrusy kick that gets me every time. And when I discovered Earl Grey cookies? Let’s just say it was love at first bite. Imagine a buttery, melt-in-your-mouth cookie that’s lightly infused with the tea’s fragrant flavor it’s like having your tea and eating it too!
I remember the first time I made them. Honestly, I was a little skeptical. Tea in a cookie? But trust me, these are not your average cookies. The combination of Earl Grey tea leaves and that soft, crumbly dough creates a perfect balance of sweet and citrusy flavors. And yes, if you’re a tea lover like me, you’ll be hooked instantly. They’re so easy to whip up, too. Seriously, just a few simple ingredients and boom, you’ve got yourself a cookie that feels fancy enough for a tea party but casual enough for an afternoon snack.
If you’re intrigued by unique desserts, check out our exploration of the crookie a delightful blend of croissant and cookie.
Ingredients for Earl Grey Cookies
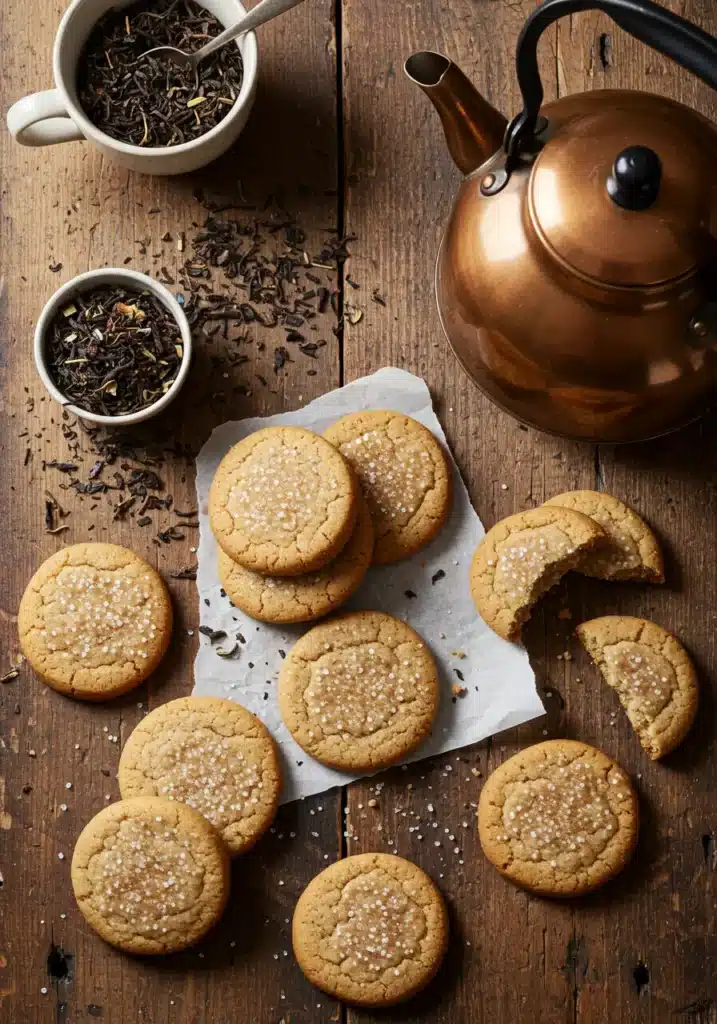
Now, let’s talk ingredients. You don’t need anything too crazy here just some pantry basics and of course, Earl Grey tea leaves (the star of the show). Here’s what you’ll need:
- 2 cups all-purpose flour – This is your base. Don’t overthink it good ol’ all-purpose will do the trick.
- 2 tablespoons Earl Grey tea leaves – This is what gives these cookies that amazing flavor. I’ve tried this with both loose tea and tea bags, but loose tea works better since you can really control the strength of the flavor.
- 1 teaspoon baking powder – Helps your cookies rise without making them puff up too much. We want them delicate, not cake-like.
- ¼ teaspoon salt – Trust me, salt in cookies makes a big difference. It enhances all the flavors and balances the sweetness.
- 1 cup unsalted butter, softened – Butter = soft, chewy cookies. Make sure it’s softened, so you don’t end up with a dough that’s too tough.
- 1 cup granulated sugar – Classic cookie sweetness. You could experiment with brown sugar, but I like to keep it simple with white sugar for this one.
- 1 large egg – Helps bind everything together. Plus, it adds richness.
- 1 teaspoon vanilla extract – A little bit of vanilla makes everything better, right? It adds a nice depth of flavor that complements the tea.
- Zest of 1 lemon (optional) – The citrusy zing from the lemon zest really complements the bergamot in the Earl Grey tea. But if you’re not into it, feel free to skip it.
Here’s a tip: don’t skimp on the tea. I’ve made the mistake before of using too little, and it was a disaster. The tea is the highlight of this cookie, so you want enough to really infuse that unique flavor into the dough. Trust me, it’s worth it!
Step-by-Step Instructions
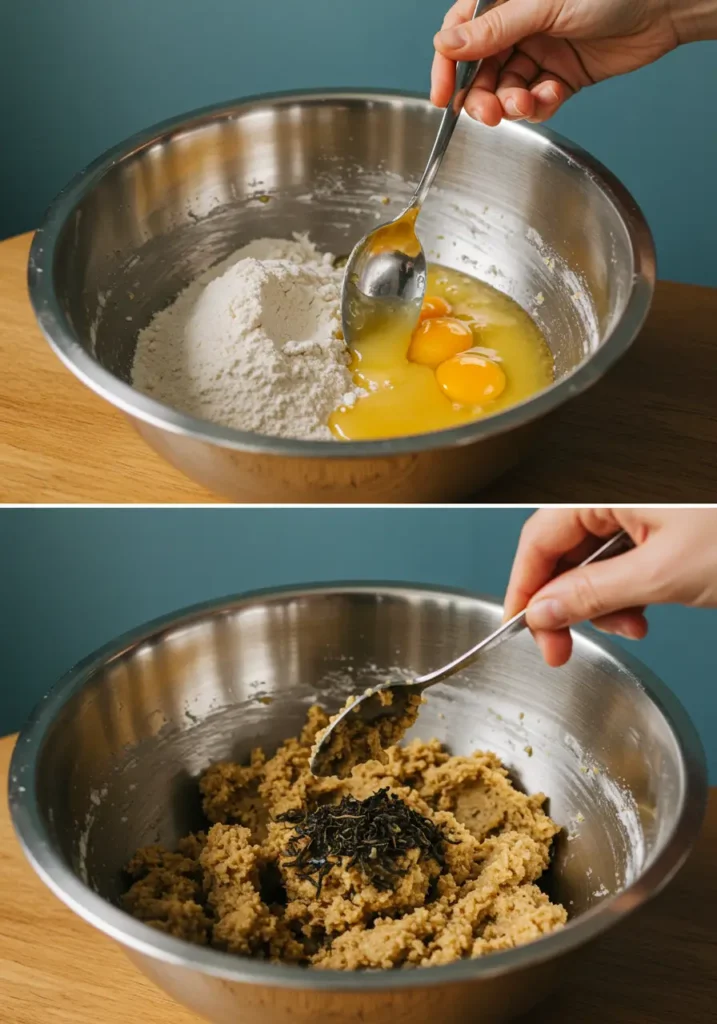
Alright, let’s get baking! The best part about these Earl Grey cookies is how simple they are to make. No complicated techniques, just a few easy steps. Here’s how you do it:
- Prep the Tea: Start by steeping your tea leaves in a bit of hot water. I usually use around 2 tablespoons of loose-leaf Earl Grey tea and just enough hot water to wet it. Let it sit for about 5 minutes, then strain it and let it cool down. The tea’s going to soak into the dough later, so you want to make sure it’s not too hot when you add it in.
- Mix Dry Ingredients: In a medium bowl, whisk together the flour, baking powder, salt, and tea leaves. This helps evenly distribute the tea leaves and ensures everything mixes well when you add the wet ingredients.
- Cream the Butter and Sugar: In a separate large bowl, use an electric mixer (or a good old-fashioned whisk) to beat the butter and sugar together until it’s light and fluffy. This step is key for making your cookies soft and melt-in-your-mouth delicious. Don’t rush it!
- Add Wet Ingredients: Once your butter and sugar are nice and fluffy, add in the egg, vanilla extract, and cooled tea. Mix it all together. The tea is going to give the dough a soft, aromatic vibe. It smells amazing, by the way.
- Combine: Gradually add your dry ingredients to the wet ingredients. Mix until everything is combined into a dough. Be careful not to overmix we want to keep the cookies tender!
- Chill the Dough: Here’s where I sometimes get a little impatient (guilty as charged). But chilling the dough for at least 30 minutes is crucial. It helps the dough firm up, so your cookies will hold their shape better when baked. It also allows the flavors to meld together. Pro tip: If you’re in a rush, pop the dough in the freezer for 10–15 minutes. You can thank me later.
- Shape and Bake: Preheat your oven to 350°F (175°C). Roll the dough into small balls, about 1 inch in diameter, and place them on a baking sheet lined with parchment paper. I usually give them a little space to spread out as they bake. Bake for 10–12 minutes, or until the edges are lightly golden. They should still be soft in the center that’s the key to a perfect cookie!
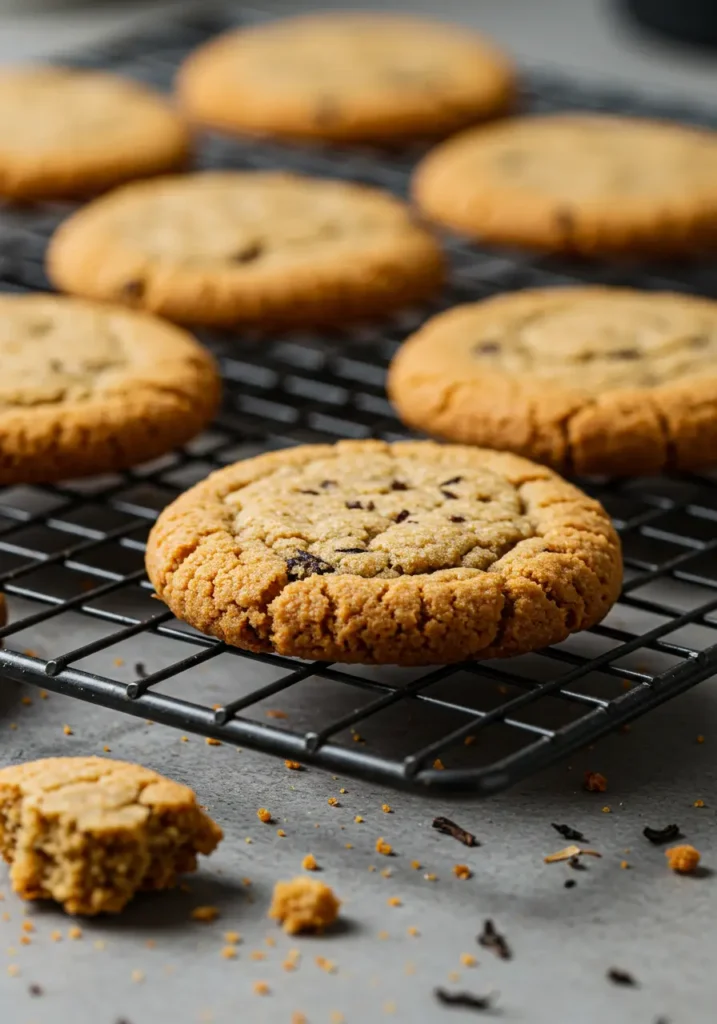
- Cool and Enjoy: Let the cookies cool on the sheet for a few minutes before transferring them to a wire rack. This prevents them from falling apart. Once they’re cool enough to handle, grab one and enjoy the buttery, tea-infused goodness!
For a refreshing drink to pair with your cookies, try our easy cold foam with creamer recipe.
Tips for Perfect Earl Grey Cookies
Okay, now for some of my personal tips that I’ve learned the hard way. I’ve made these cookies a few times, and each time I’ve tweaked something just a little bit to get them just right.
- Don’t overdo it with the tea: I get it you want strong Earl Grey flavor. But more is not always better! If you add too much tea, the cookies can become a little too bitter or dry. Stick with 2 tablespoons of tea leaves, and you’ll get that perfect balance of flavor.
- Butter is your friend: Seriously, the butter makes these cookies so soft and rich. I wouldn’t skimp here. And remember, use unsalted butter. If you use salted butter, it could throw off the taste.
- Chill the dough: Trust me don’t skip this step. Chilling the dough makes a huge difference in the texture of your cookies. They’ll spread less in the oven and hold their shape better.
- Add lemon zest if you’re feeling fancy: This is optional, but if you’re in the mood for a little something extra, add a teaspoon of lemon zest to the dough. The citrus flavor pairs so well with the bergamot in the tea. I’m telling you, it’s a game-changer.
- Try rolling the cookies in sugar: For a little extra sweetness and crunch, roll the dough balls in sugar before baking. It adds a subtle, sparkly finish that makes the cookies look even more beautiful.
Troubleshooting Common Issues with Earl Grey Cookies
We’ve all been there you follow the recipe to a T, and still, something goes wrong. Here are some common problems I’ve faced while making Earl Grey cookies, and my solutions to fix them:
- Cookies are too flat: If your cookies are spreading too much, it’s likely because the dough was too warm when you baked it. Chill the dough longer next time, and if you need to, chill the baking sheets as well before placing the dough on them. Another culprit could be using too much butter, so make sure you’re measuring carefully.
- The cracks don’t appear: Earl Grey cookies should have a little bit of texture and crackling on top, but if they’re coming out too smooth, it could be due to underbaking. If you’re unsure, take one cookie out at 9 minutes and let it cool. The center should be soft but set.
- The cookies are too crumbly: If your cookies are falling apart or are too dry, you might have overmixed the dough. Be gentle when combining the wet and dry ingredients. And, don’t forget the butter it helps everything come together and stay moist.
- Too much tea flavor: If the tea flavor is overpowering, you might have used tea bags that were too strong or oversteeped your leaves. Use loose-leaf tea and don’t steep it for too long just 5 minutes should do the trick.
How to Store and Freeze Earl Grey Cookies
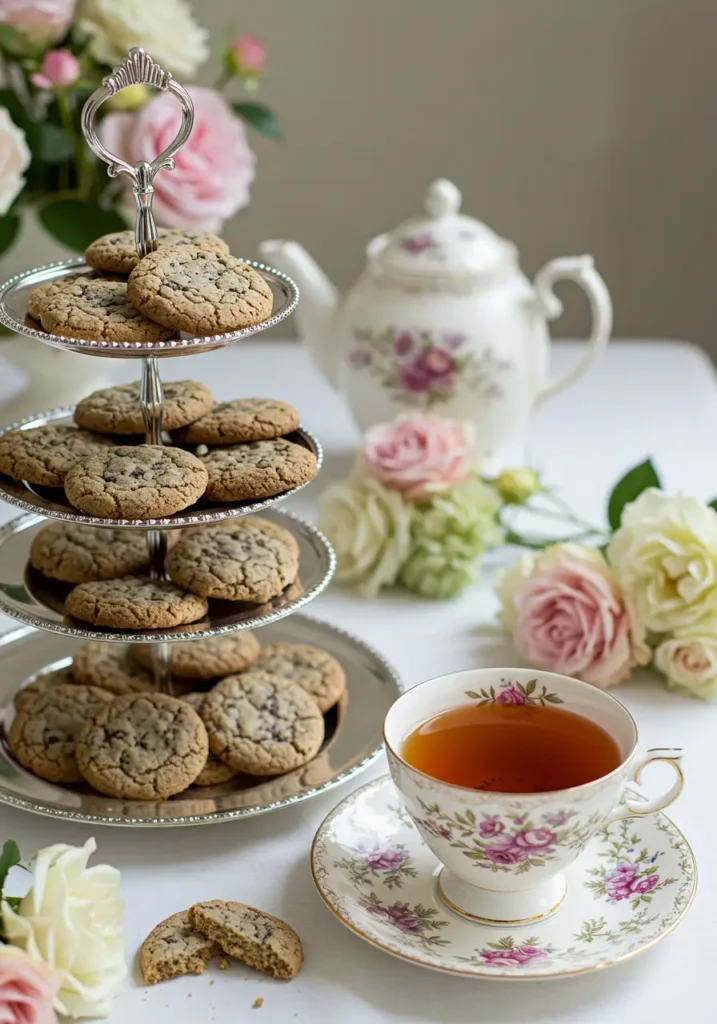
You’ve made your batch of delicious Earl Grey cookies, and now you’re probably wondering: How can I keep them fresh for as long as possible? Let me share my tips for storing and freezing these beauties, because who doesn’t want to have cookies ready for any time a craving strikes?
Storing Earl Grey Cookies
Once your cookies have cooled completely, the best way to store them is in an airtight container. I personally like to use a cookie tin or a resealable plastic container. Keep them in a cool, dry place, and they’ll stay fresh for up to 5 days. If you’re like me, though, they’re usually gone much sooner (who can resist?).
Here’s a pro tip: layer the cookies with parchment paper if you’re stacking them. This prevents them from sticking together, and it keeps those crispy edges nice and intact.
Freezing Earl Grey Cookies
If you’ve made a big batch or want to keep some on hand for later, freezing is the way to go! Freezing cookies is easy, and it saves you from having to bake a new batch every time you want a fresh cookie.
- Freeze the dough: Roll the dough into balls (as if you’re going to bake them), and place them on a baking sheet lined with parchment paper. Pop the whole baking sheet into the freezer for 2–3 hours, or until the dough balls are completely frozen. Then, transfer them into a freezer bag or an airtight container. Label it with the date, and you’re good to go. You can freeze the dough for up to 3 months.
- Bake from frozen: When you’re ready to bake, just preheat your oven to 350°F (175°C) and place the frozen dough balls on a baking sheet. You don’t need to thaw them, but you may need to bake them for an extra minute or two. It’s that simple.
- Freeze baked cookies: If you’ve already baked your cookies and want to freeze them, let them cool completely, then layer them in an airtight container or freezer bag with parchment paper between each layer. Freeze them for up to 3 months. When you’re ready for a treat, just pull them out and let them thaw for a few minutes. You can also pop them in the microwave for a few seconds if you want them warm and fresh.
And there you have it! Now you’re all set to store and freeze your Earl Grey cookies so you can enjoy them anytime the mood strikes. Pretty simple, right? These cookies are perfect for making ahead and storing for later, or for sharing with friends and family.
FAQs About Earl Grey Cookies
Let’s tackle some of the most common questions I get about making these cookies. I’ve been asked about these a lot, so I thought I’d clear up any confusion for you!
1. Can I use regular tea bags instead of loose-leaf tea?
Absolutely! If you don’t have loose-leaf tea, you can use Earl Grey tea bags. Just cut open the bag and use the leaves inside. The key is to use high-quality tea, as it makes a big difference in flavor. Just make sure to use about 1–2 tea bags for the right amount.
2. Can I make these cookies gluten-free?
Yes, you can! To make these cookies gluten-free, just swap the regular flour for a 1-to-1 gluten-free flour blend. Make sure it’s one that includes xanthan gum, as this will help with texture. The flavor and texture should still be spot-on!
3. How can I make the cookies more or less sweet?
If you prefer sweeter cookies, you can add a bit more sugar to the dough. If you want them a bit less sweet, cut back on the sugar by a tablespoon or so. I find that the balance of tea and sugar is perfect, but it’s always fun to adjust according to personal taste!
4. How do I get the perfect crackly top on these cookies?
A few things to remember: Chill your dough, don’t overmix, and be careful not to overbake them. The crackly top comes from the dough setting in the oven. It needs to bake long enough to form those cracks, but not so long that the cookies get hard. Watch them closely toward the end of baking!
And that’s it! You’re now ready to bake your own Earl Grey cookies, and I can’t wait for you to try them out. I’ve shared all my tips, tricks, and even some personal stories from my own baking journey. Whether you’re a seasoned baker or a beginner, these cookies are perfect for everyone.
If you’re looking for something a bit different and love the cozy, aromatic flavor of Earl Grey tea, these cookies are a game-changer. They’re soft, flavorful, and just the right balance of sweet and citrusy. Plus, they make the perfect treat for any occasion whether you’re hosting a tea party, enjoying a cup of tea on a rainy afternoon, or just treating yourself to something special.
I hope you’ve learned a lot from this recipe! If you make these cookies (or have any tweaks or tricks of your own), I’d love to hear all about it in the comments. Share your own Earl Grey cookie stories and let me know how it went for you.
Happy baking, and enjoy your cookies! 🍪💕
Oh, and just a quick heads-up before you dive into your second (or third) cookie Earl Grey does have a bit of caffeine in it. Not a ton, but if you’re baking these for kiddos or planning a late-night snack, it’s something to keep in mind. Curious how much is actually in there? Here’s a quick breakdown from webmd. Better safe than accidentally wide awake at 2 a.m., right?
Print
Earl Grey Cookies with a Delicate Citrus Twist
- Total Time: 1 hour 27 minutes
- Yield: 24 cookies 1x
Description
These buttery Earl Grey Cookies are infused with the floral-citrus flavor of Earl Grey tea and finished with a light dusting of sugar. They’re perfect with a cup of tea or as an elegant treat for any occasion. Crisp, flavorful, and super simple to make!
Ingredients
- 2 cups all-purpose flour
- 2 tablespoons finely ground Earl Grey tea (from about 4 tea bags)
- ½ teaspoon salt
- ¾ cup powdered sugar
- 1 cup unsalted butter, softened
- 1 teaspoon vanilla extract
- Optional: 1 teaspoon orange zest for extra brightness
- Granulated sugar for rolling (optional)
Instructions
- In a bowl, whisk together the flour, ground tea, and salt. Set aside.
- In another bowl, beat the softened butter and powdered sugar until creamy and smooth.
- Add vanilla extract (and orange zest, if using), then gradually mix in the dry ingredients until a dough forms.
- Divide the dough into two logs, wrap in plastic wrap, and chill for at least 1 hour.
- Preheat oven to 350°F (175°C). Slice chilled dough into ¼-inch rounds.
- Roll edges in granulated sugar if desired, then place on a parchment-lined baking sheet.
- Bake for 10–12 minutes until edges are lightly golden.
- Cool on the sheet for 5 minutes, then transfer to a wire rack.
Notes
- You can freeze the cookie dough logs and slice them straight from the freezer when ready to bake.
- Want a stronger Earl Grey flavor? Steep the tea in melted butter, then chill and cream as usual.
- Yep, there’s a bit of caffeine in Earl Grey, though it’s not super high here’s a breakdown if you’re curious.
- Prep Time: 15 minutes
- Chill Time: 1 hour
- Cook Time: 12 minutes
- Category: Dessert
- Method: Baking
- Cuisine: British-inspired
Nutrition
- Serving Size: 1 cookie
- Calories: 110
- Sugar: 6g
- Sodium: 40mg
- Fat: 7g
- Saturated Fat: 4.5g
- Unsaturated Fat: 2.5g
- Trans Fat: 0g
- Carbohydrates: 10g
- Fiber: 0.3g
- Protein: 1g
- Cholesterol: 20mg
Keywords: Earl Grey cookies, tea cookies, shortbread with tea, bergamot cookies

